← BACK TO FORUM INDEX

Install Ubuntu Server | Best Practice

BY | Jun 5, 2026 | Linux

Install Ubuntu Server – Best Practices 2026

Installing Ubuntu Server the right way from the beginning saves time and prevents problems later. Whether you’re building a homelab or production environment, following current best practices leads to a more secure and maintainable server.

Visual Overview
Download Links & Prerequisites

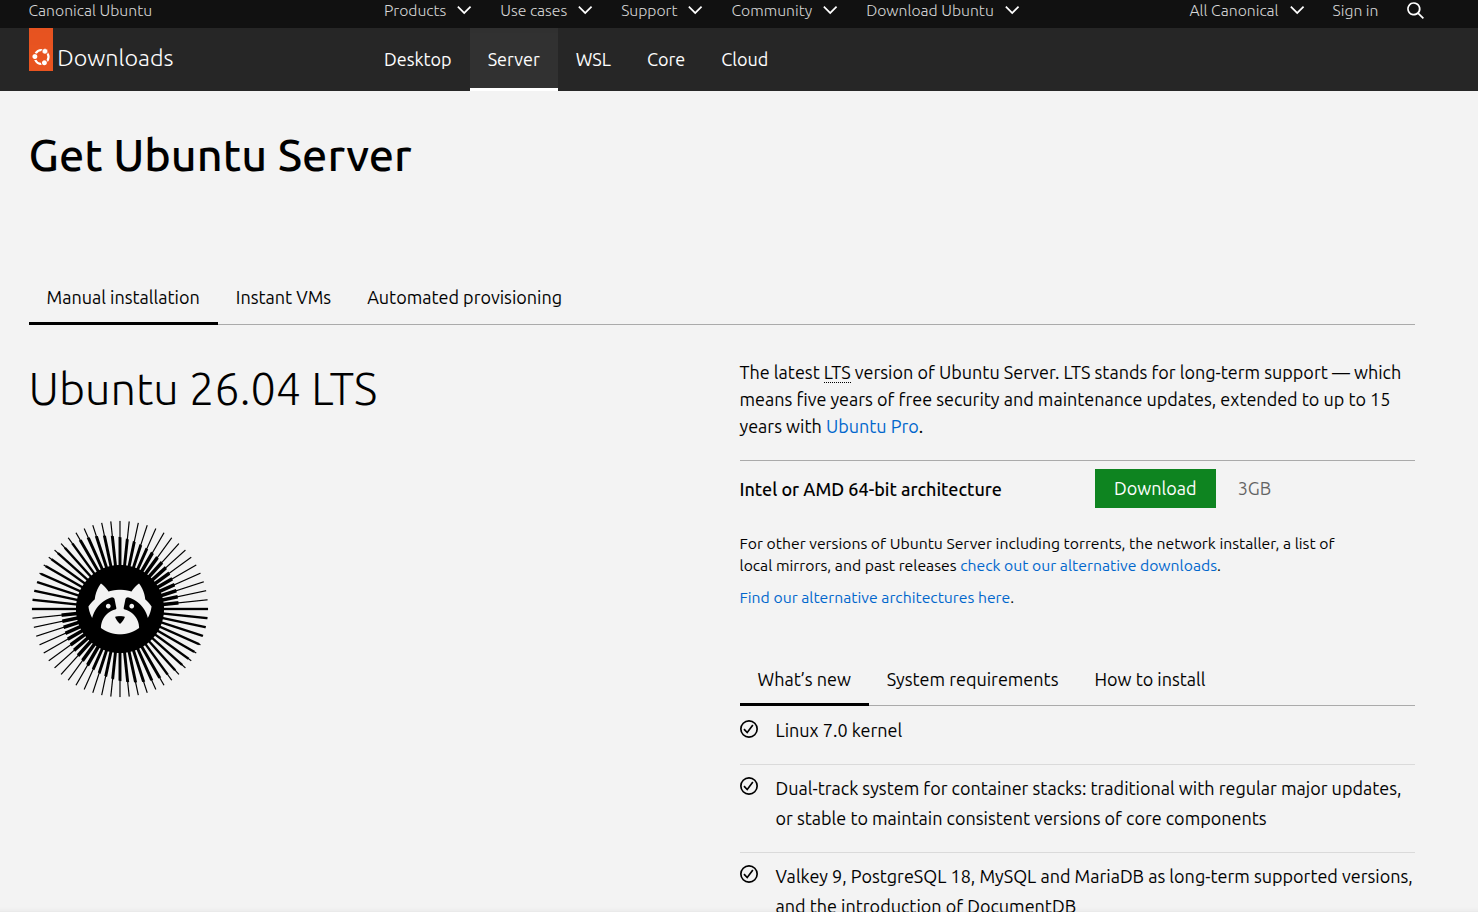
Ubuntu Server ISO

Download the latest Long Term Support (LTS) version from the official source.


Download Ubuntu Server ISO

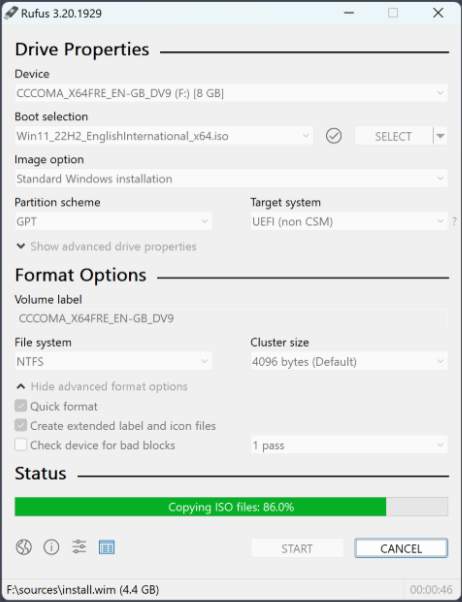
Create Bootable USB

Use one of these trusted tools to create your installation media:

Why Proper Installation Matters

Security from Day One

Starting with best practices makes your server much easier (and safer) to harden later.

Easier Long-Term Maintenance

A clean, well-planned installation reduces future issues with updates and configuration.

Why Install Ubuntu Server in a Hypervisor?

Better Isolation & Security

Running Ubuntu in a virtual machine adds a layer of isolation from the host system and improves overall security posture.

Easy Snapshots & Backups

Take snapshots before major changes or updates. Roll back instantly if something goes wrong.

Resource Efficiency

Run multiple Ubuntu servers on a single physical machine with much better hardware utilization.

Faster Testing & Recovery

Quickly spin up test or development environments and destroy them when you’re finished.

Centralized Management

Manage all your Ubuntu servers from a single interface with easier monitoring, updates, and control.

Disaster Recovery & Portability

Easily back up, move, or restore entire servers between different hosts or even different hypervisors.

Step-by-Step Installation

Step 1

Boot from Installation Media

Boot your server or virtual machine from the Ubuntu Server ISO and select your language.

Step 2

Network Configuration

Connect to your network. You can set a static IP later if needed.

Step 3

Server Name & User Account

Choose a clear server name and create your main user account during installation.

Step 4

Disk Setup

Use guided partitioning for most cases. Advanced users can create custom partitions.

Step 5

Software Selection

Only install OpenSSH server during the initial setup. Add other services after installation.

Step 6

Finish & Reboot

Complete the installation and remove the USB/ISO when prompted.

Post-Installation Best Practices

Update Everything Immediately

sudo apt update && sudo apt upgrade -y
sudo apt autoremove -y

Security Hardening

Right after installation, follow proper security hardening steps. This is one of the most important things you can do.


View Ubuntu Security Hardening Guide

Enable UFW Firewall

sudo ufw allow OpenSSH
sudo ufw enable

Enable Automatic Security Updates

sudo apt install unattended-upgrades -y

Questions for the Community

Do you install Ubuntu Server on bare metal or in a hypervisor?

What has been your experience with both approaches?

What’s the first thing you do after a fresh install?

Any must-do steps you always follow?

Disclaimer

This content is for educational and informational purposes only. It is not technical advice. Always verify commands and test in your own environment.

DISCUSSION

No replies yet. Be the first to join the discussion!

A1 AI Assistant
Call Text A1 Forum Tech News Contact Form